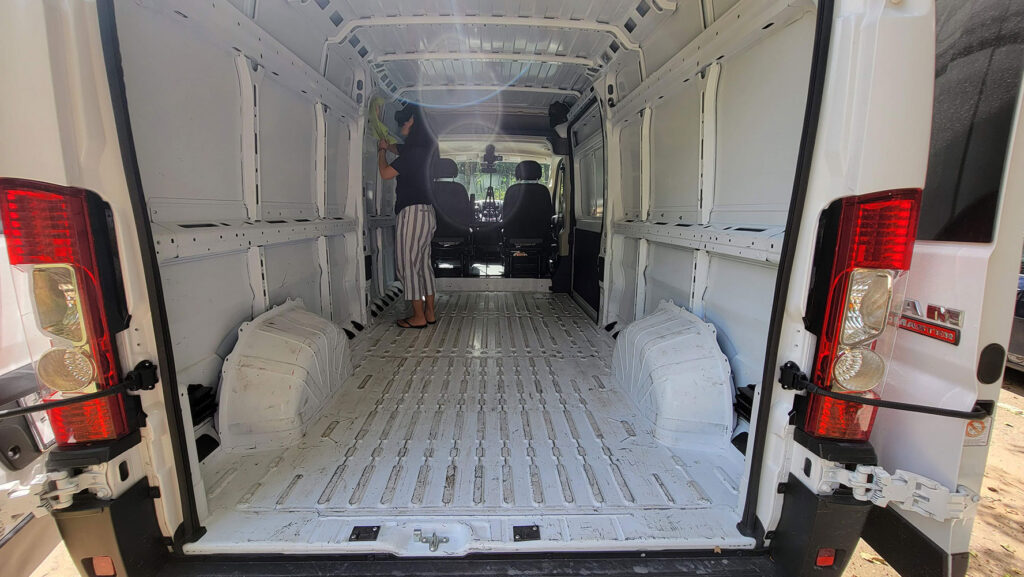
One of the first things you’ll want to do when converting a van is to add a solid floor since you’ll be building upwards. We started by cleaning the entire inside of the van really well with soap and water.
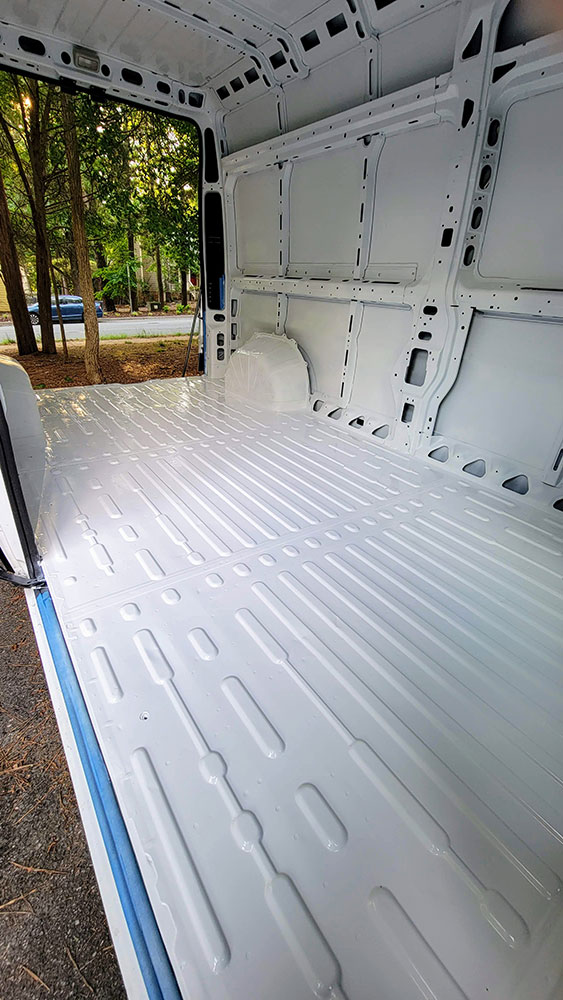
Once everything was clean, I sprayed Rust-Oleum professional primer on pretty much every imperfect surface I could see. Then I followed that up with Rust-Oleum Professional Gloss White Paint. I simply brushed the paint from the can onto the floor. If I had to do it over again, I would probably also try to get a primer in can form since I think I had to use several spray cans worth of primer. I would highly recommend going with the Rust-Oleum professional line as I’ve always had great results with the durability and look of the finished product.

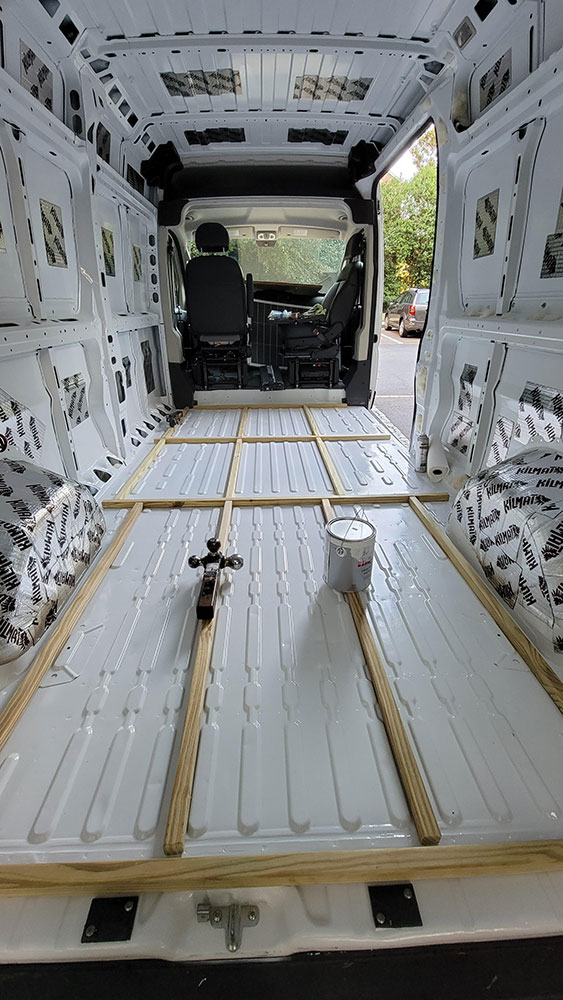
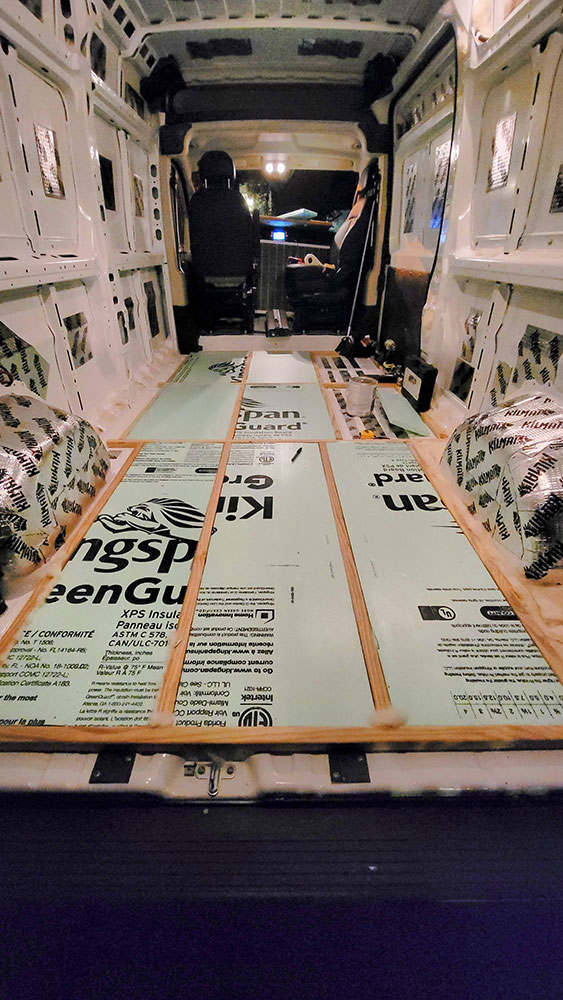
Once all the paint had dried, I then cut 2×2 pressure-treated wood for the framing of the subfloor and then glued them down to the floor with Loctite PL Premium Max construction adhesive.
I then filled the squares with a 1.5″ rigid XPS insulation foam board. I used Havelock Wool on the outer edges since the areas weren’t as uniform. We also filled in any smaller gaps between the insulation foam boards and the wooden frame with some spray foam insulation.
Once the insulation was in, it was time to cover that all up with some plywood boards. I opted for 1/2″ plywood since it was cheaper and lighter. My wife and I are on the lighter side of the weight scale, so we’ve had zero problems with the floorboards flexing, but many van lifers will recommend going for 3/4″ thick boards for ultimate durability. To make the cutouts, I used Builder’s Paper to make the templates and then transferred that onto the plywood boards to make the cutouts with my Jigsaw. You’ll also want to paint the plywood boards to protect them from moisture. I had a ton of paint leftover from earlier in the process, so I used that, but you can also opt for some Thomson’s Waterseal.
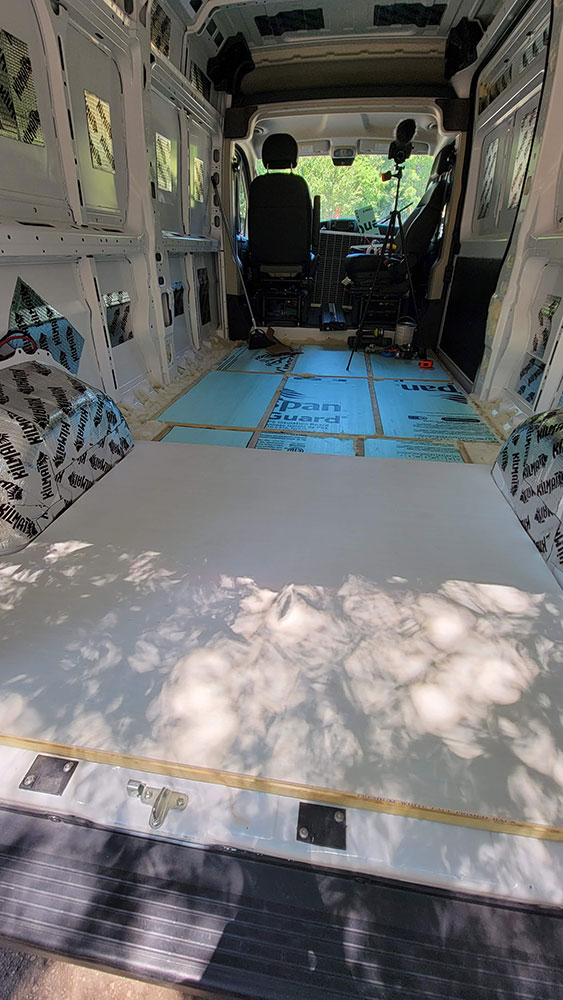
The last step is to screw them into the 2×2 frames so they don’t shift and move around. Since you don’t want to bump your feet into those screws, you’ll want to use a countersink bit to predrill the holes and then finish off some wood putty for a nice smooth finish.
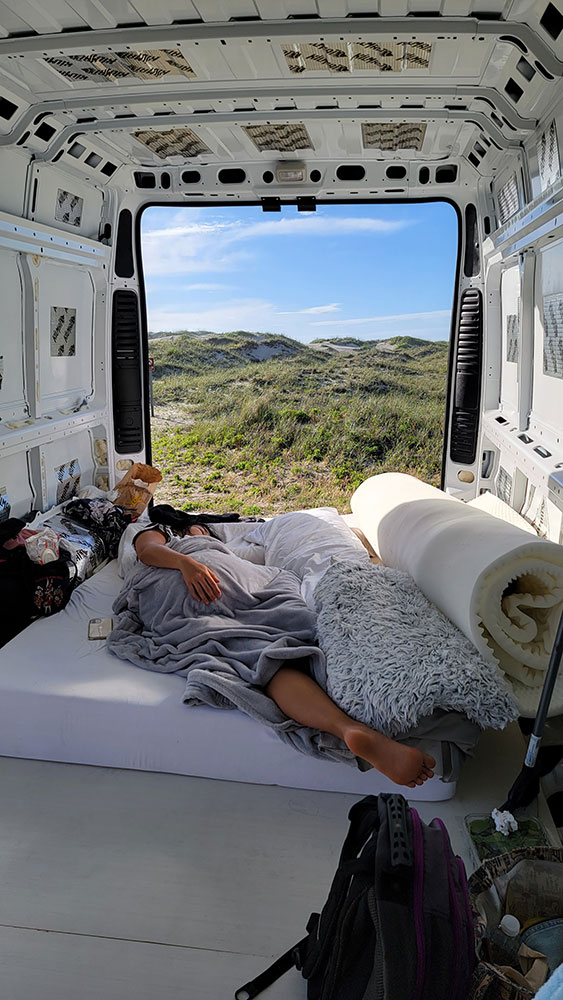
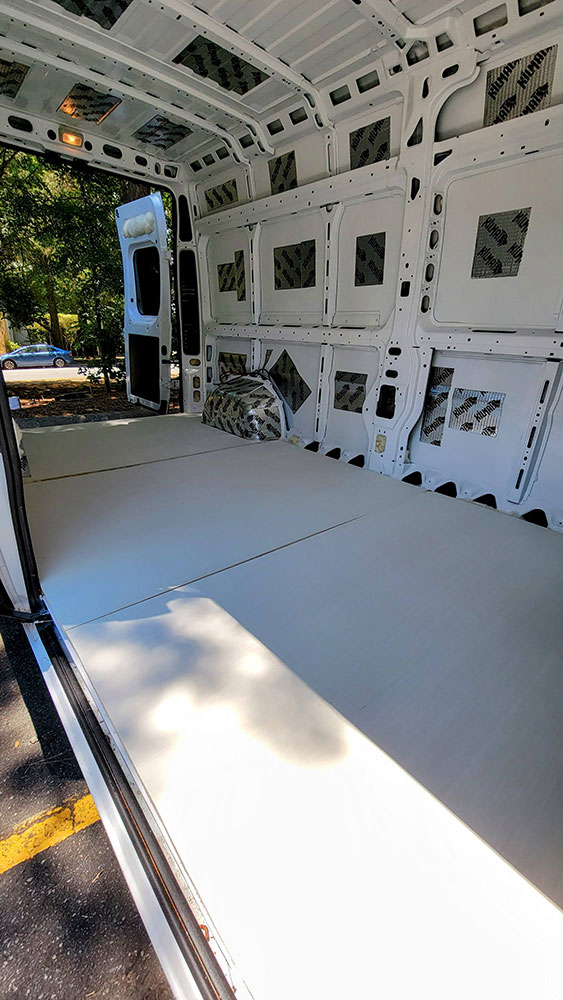
And that’s it! We’ll be adding a vinyl flooring sheet over this at a later date but you don’t want to do that just yet as the floor will just get damaged while you’re working on other parts of the van.