As mentioned in the previous homestead blog, the reason we were able to purchase our land so cheaply was that access to the majority of the land was cut off by a river. How did I plan on getting across this river? My plan was to build a bridge, of course. I watched about five videos on YouTube of people who built their own bridges; it seemed easy enough…
Step 1: Choose your fighter… errr, I mean the type of bridge you want.
Upon researching the various options (watching YouTube videos), I settled on a suspension bridge.
The main reasons why I chose to build a suspension bridge were:
A) Suspension bridges look pretty friggin’ cool.
B) Suspension bridges seemed like the only type of bridge I could build with my bare hands without using heavy machinery.
C) The narrowest part of the river I could find required a bridge that would span 75 feet.
D) They’re fun to walk across (most important reason).
Step 2: Spend hours drawing and perfecting your design.
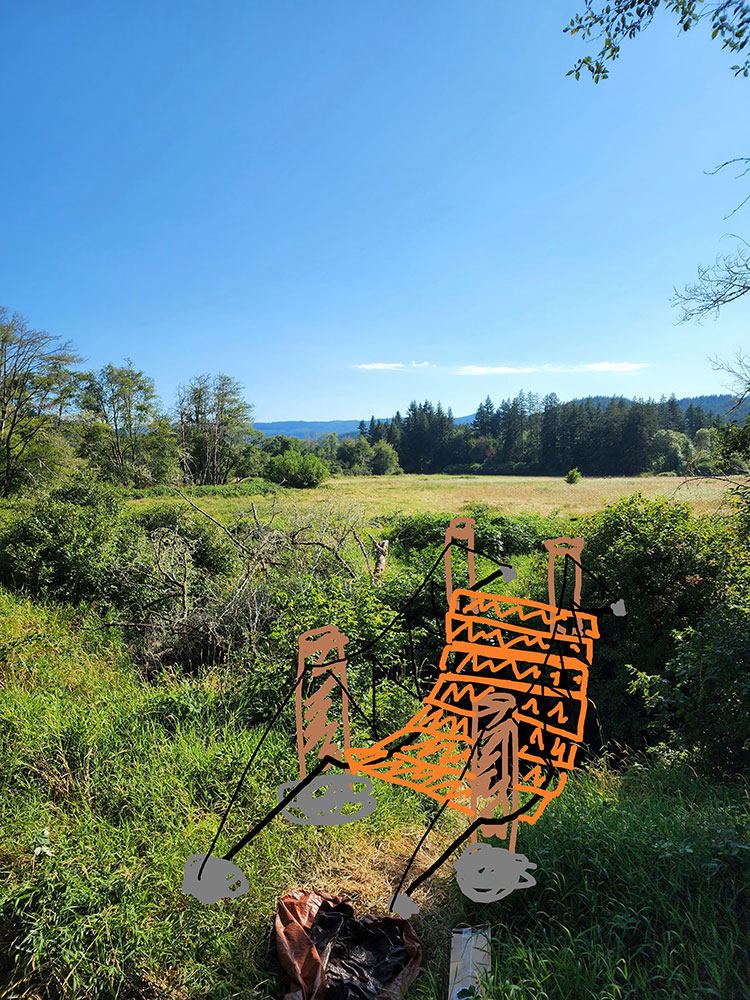
Done.
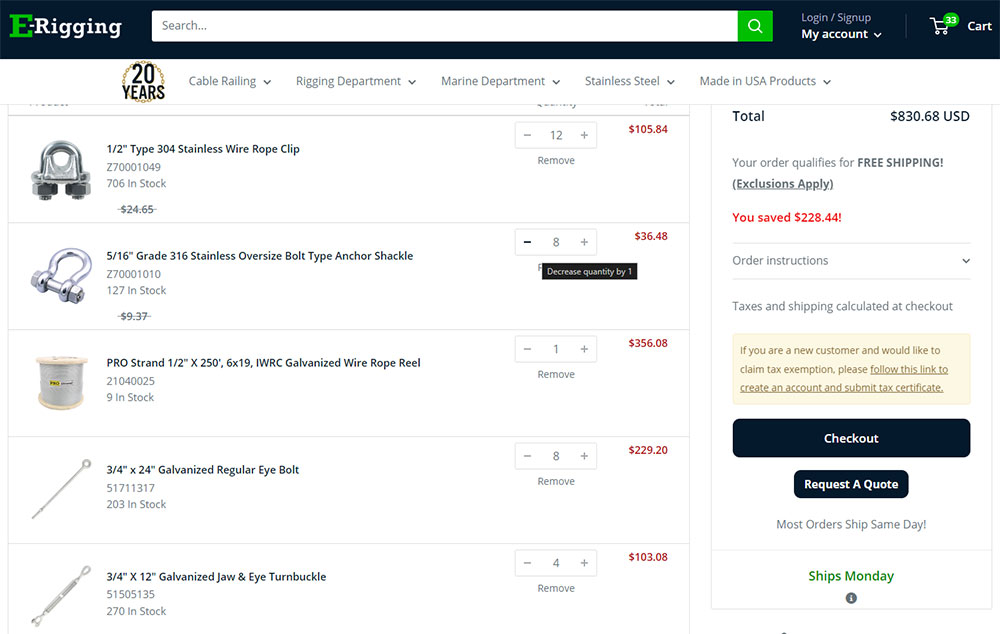
Step 3: Purchase the required materials
A) Rigging hardware from e-rigging.com (this isn’t everything but it’s most of the important parts, some I ordered from amazon/ebay if they were cheaper)
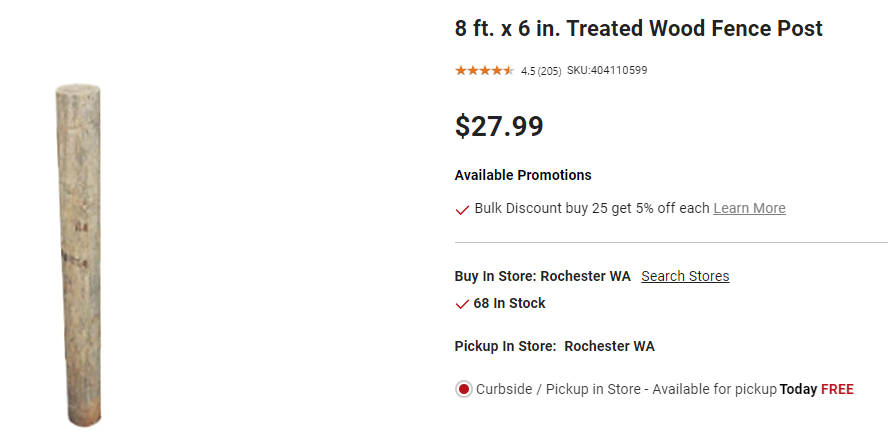
B) 4 of these bad boys to use as main supports (I purchased mine from my favorite store in the world: Tractor Supply Co.
C) Way too many Quikrete cement bags and a bunch of 2×6 wood from Home Depot (you’ll have to calculate for your own bridge width and length)
In my case, I needed cement to fill a 10″ wide hole that I dug about 6-8ft deep for the posts and the anchors. You can use this handy dandy calculator for all your cylindrical filling needs: https://www.omnicalculator.com/construction/concrete-cylinder — I also purchased an auger on ebay because I didn’t want to spend 20,000hrs digging a bunch of holes.
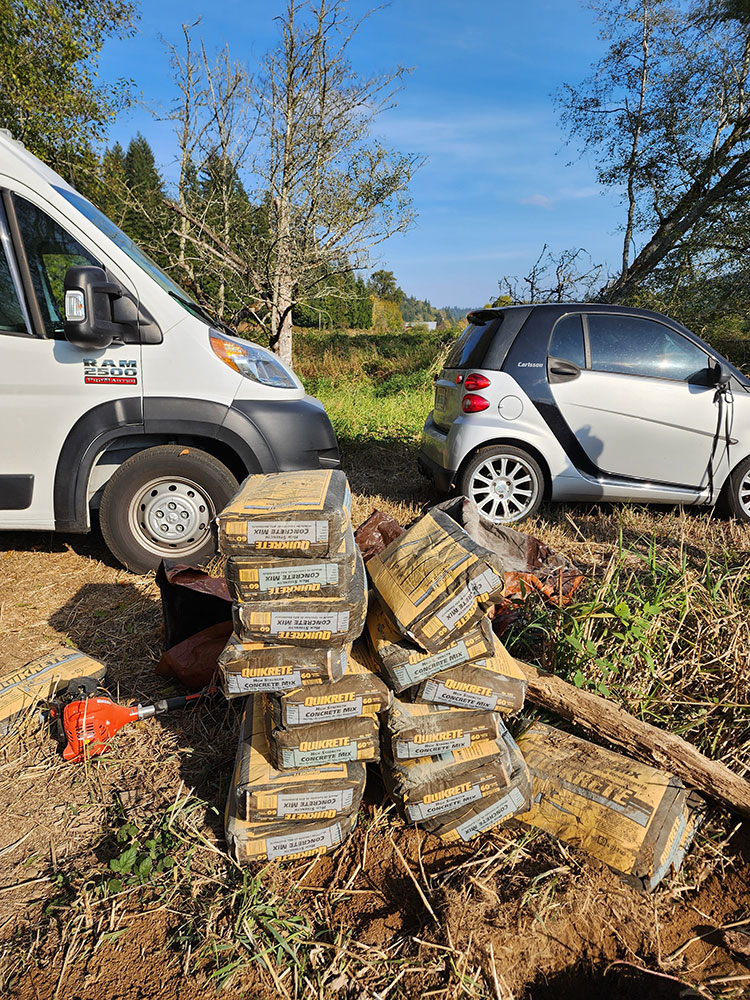
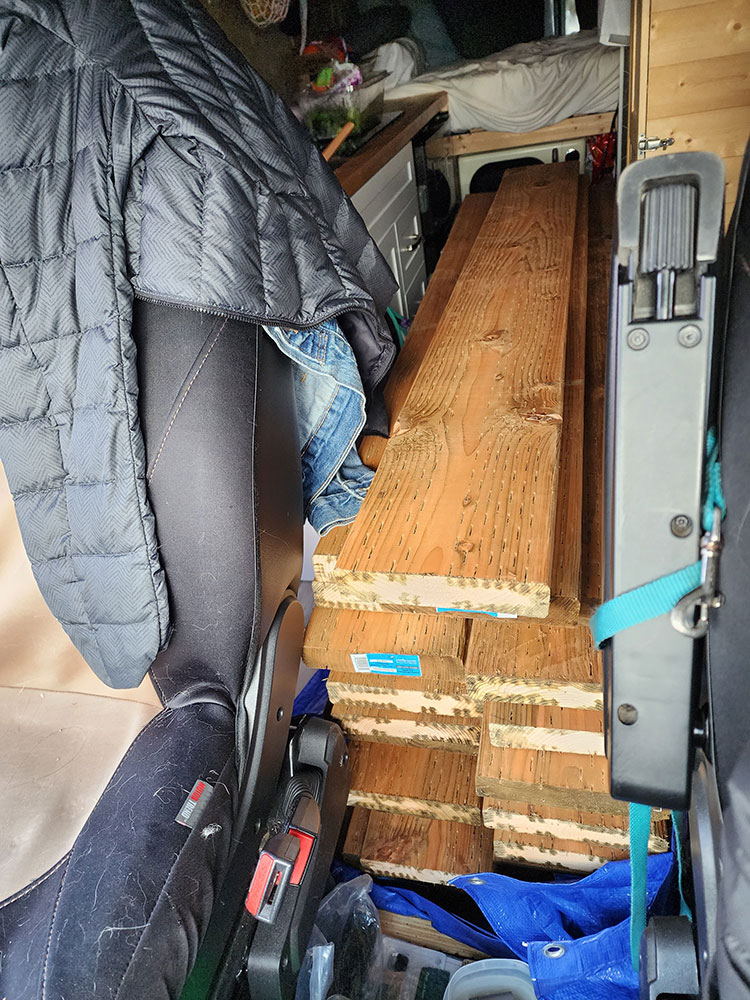
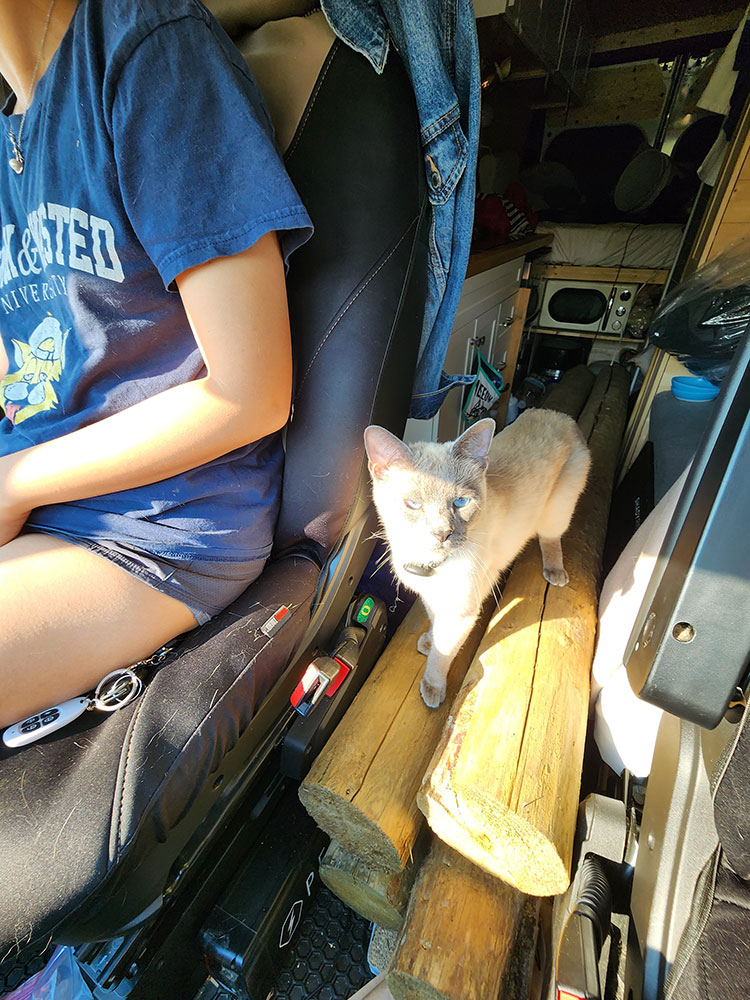
Here are some pics of us collecting materials to build the bridge exactly like the same way I would in the game Valheim, and yes our cat Coco played a crucial part in helping build the bridge.
I’ve since lost all my receipts – but I want to say the total cost of all the required materials came to under $2000, with the most expensive part being all the required 2×6 wood to use as the stepping platforms. Still much cheaper than paying someone $20,000 to build one for you, however.
Step 4: Start Buildin’
Since this post is getting a little long, I will continue the process in the next blog.
I would like to however give credit to the many videos I watched on Youtube that helped me with the process below:
https://www.youtube.com/watch?v=5Z2YzfkHFeE
https://www.youtube.com/watch?v=6AHMgD5Maws
https://www.youtube.com/watch?v=AqtngcFdRFM
https://www.youtube.com/watch?v=rYOC_3H27Yg
See you in the next one!