From my research, one of the simplest steps to converting a van is almost always installing swivel seat adapters for the front seats that will allow them to swivel a full 360 degrees so that is what I tackled for my very first step.
When it came to swivel seat adapters, there were so many options. Some people only install one for the passenger seat but with the layout that we picked, I needed to do both seats so I didn’t want to spend a ton of money.
These were the options I could find:
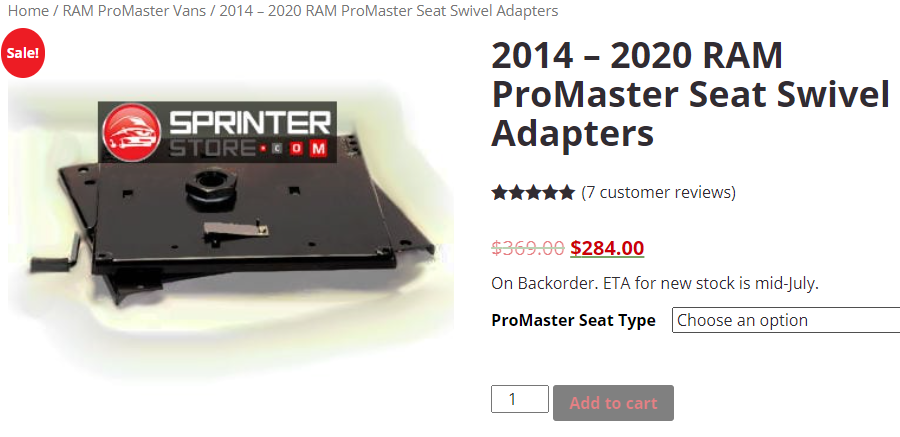
1) Sprinter Store – $284 + Shipping
2) Eurocampers – $288 + Shipping ($30)

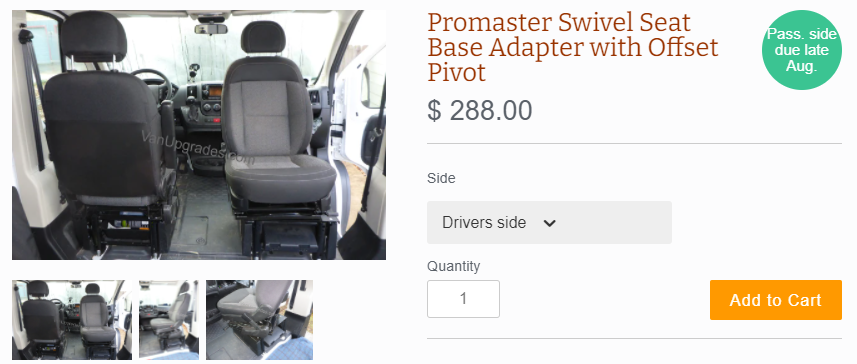
3) VanUpgrades – $288 + Shipping
4) TheSwivelShop – $399 + Shipping

As you can probably see… the adapters are pretty expensive with the lowest price being $320. I decided to check amazon (no options available) and ebay and that was when I found the following listing:

This was by far the cheapest option at $249.00 shipped which would bring my total to under $500 shipped for both seats. The seller had pretty good reviews but I could not find any reviews of this particular swivel install on the internet. I decided to roll the dice since the price was so much cheaper than the other options I had found.
A week later, two boxes arrived at my doorstep and I quickly got to work.
Instructions for installation can be found here: https://www.sprinterswivel.com/installation-tutorial
I watched the YouTube tutorial for the installation a few times to get a grasp of the installation process. Overall I wouldn’t say it’s the hardest install in the world but it’s also not the most straight forward.
The important parts to remember are:
1) Disconnect the negative end of the cable from the car’s battery.
2) Disconnect the wires from the seat
3) Use ratchet wrenches to disconnect the seat from the base
4) Install the swivel adapter
5) Make sure to use the spacers included to properly lift and separate the seat high enough from the swivel adapter (This was the part I struggled with the most because I wasn’t sure where all the spacers were supposed to go and I didn’t use them to separate the seat from the adapter so after I screwed everything back down, I couldn’t slide the seats forward and backwards).
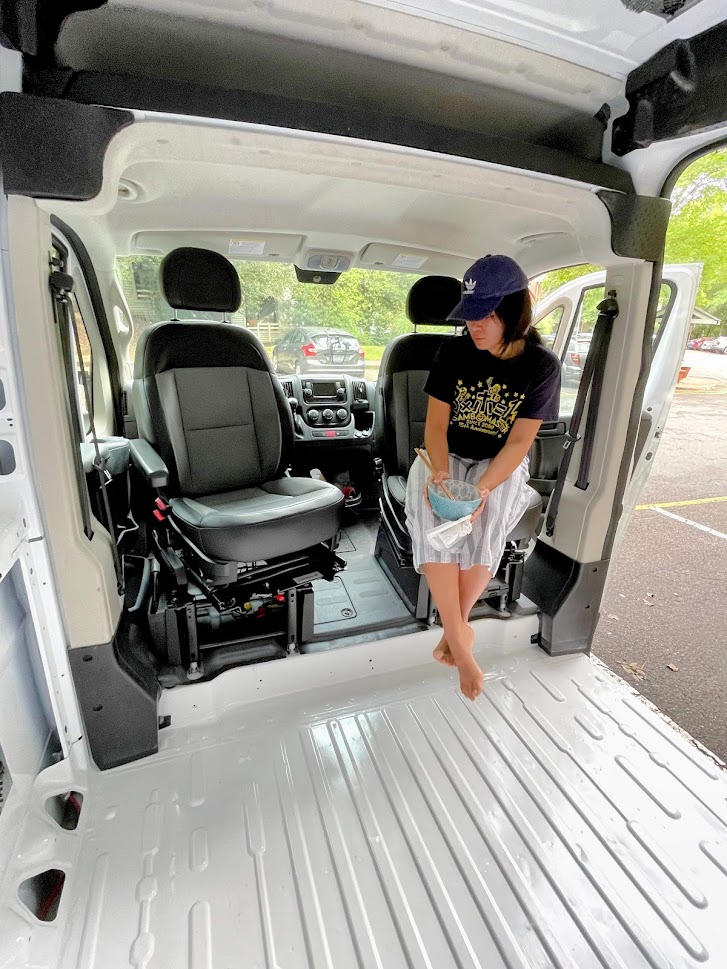
Once I assembled and disassembled a few times to figure out the last step, I was finally done. The install wouldn’t have taken that long if I had known from the start. I would say it would have taken under and hour. I did record the install so I will probably upload a tutorial to YouTube in the near future. Other than the minor installation problems, I am very satisfied I went with this swivel adapter for my seats. They feel very heavy duty and swivel smoothly, although with some effort, but I’m sure they’ll be easier to swivel over time. I would highly recommend them to anyone looking to save some money for their swivel seat conversion.
Here’s a picture of the end result: